Disney Project Life Layout 10 | Finishing Up Day 1!
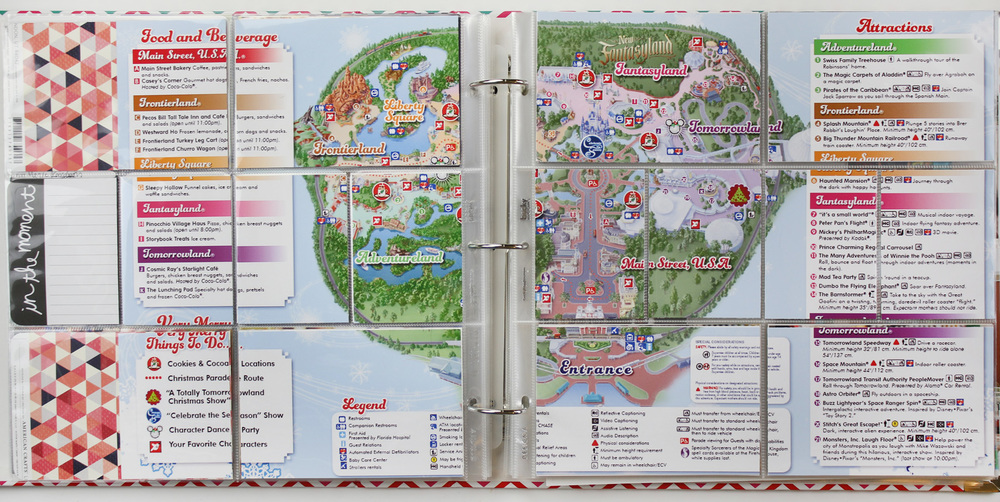
Hi guys, it’s Wednesday and that means Disney day here! I am so happy to be moving right along through this album and this project, and today I am wrapping up Day 1. Each day in the album ends with a map of the park we visited that day, so have a look at my process to see what I did:
Here is the layout to begin with, just a printed map and the backs of the journaling cards from the layout before:

This is the completed layout here:

The right hand side left a great column for a few journaling cards, and I chose to use Ali Edwards’ WILD story kit to fill those pockets. I wanted to use muted, neutral colors and knew that kit had some beautiful colors, and the orange in the Love You Best Of All card ties in perfectly with the orange in the titles on the map.

What I wanted to do with this map was to show graphically how we moved around the park. Because of Fast-passes and just selecting certain rides, it felt like we skipped across and back and forth a bit. So I chose to use brads and twine to show our path. At the entrance I heat embossed a circle from the Ali Edwards WILD Story Stamp, which you can see here.

The twine goes up and across several different cards and the corners were a tiny challenge, but I think you get the general idea. This tells a story all its own, with no photos or words necessary.

In the margins I used Studio Calico’s geotags to highlight which rides we rode and where we ate lunch. This becomes an easy reference tool for the future, right?!

This was a simple but fun layout to include, and a great way to include maps in your Disney albums. Years from now it will be interesting to go back and see what changed. See you guys back here tomorrow for TBT Project Life!
~Theresa

June 15, 2016 @ 4:28 pm
I like how you used the twine to trace the path.
June 22, 2016 @ 5:46 pm
Shut up!!! I LOVE the map idea!!!!! Never would have thought to use bakers twine to map out a path taken wherever it was we were at!!!! Genius!!!
June 22, 2016 @ 7:15 pm
I’m so glad you like! Thanks for the love!
~Theresa