#TBT Project Life 2016 Week 2 Layout (Crate Paper Kiss Kiss!)
Welcome friends for another Project Life layout today from Week 2. We had a special visit from my sister that week, so I wanted to create a two page spread. I went into the Project Life app and chose two large photos and then chose a few cards from the Everyday Edition. Here is my process video for this layout, be sure to come back and I’ll talk about some of my design decisions!
So I decided to challenge myself to bring out some of my older product to get it used each week, that is why I called this post a #TBT. Some weeks I will probably pull some of my incomplete layouts from past years to finish up, because I have so much of last year to catch up on. But this week I ran across my Crate Paper Kiss Kiss and thought it might be perfect for this layout. Here is the layout as I created it in the PL App:


Alright, so I really love how this one focal photo turned out, of us just gathered around the table getting ready to eat. The vellum hearts from Kiss Kiss just worked out lovely on the one side, with a few chipboard hearts to add dimension.


For the bottom two cards I added my date stamps, the week number using really old, old, OLD thickers (!) and then I used a thin washi tape to create lines for my journaling.

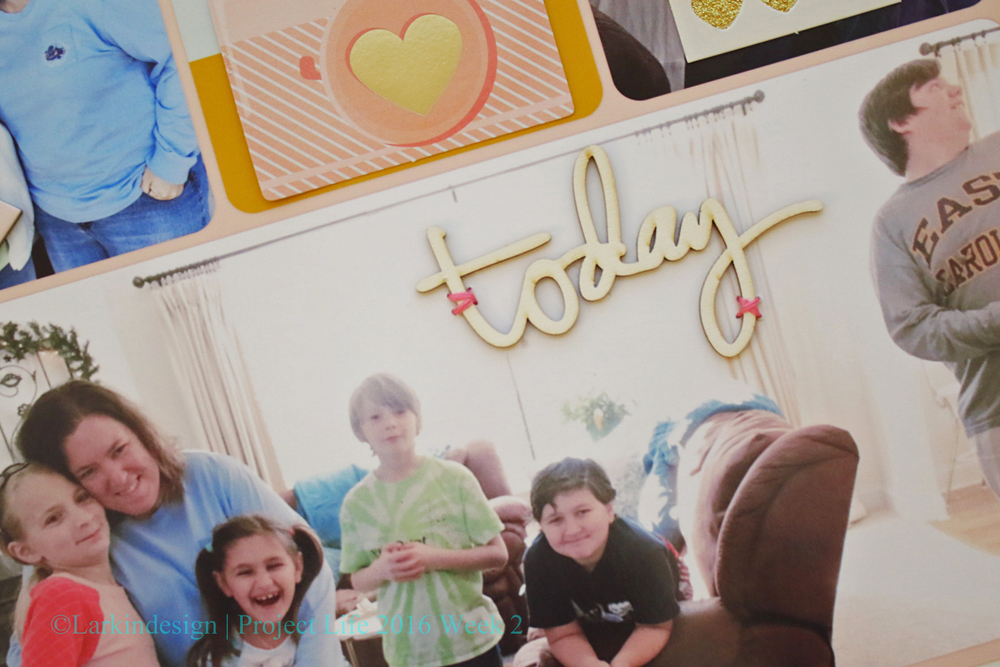
On the opposite side of the layout, I chose another large photo across the bottom. Trust me when I tell you that we made several attempts at getting everyone to look at the camera, and when you have so many kiddos that are that excited, it is virtually impossible. And I wouldn’t have it any other way – this photo shows how happy they all were to see their Aunt Angie and you can just feel the love.
I added a few simple embellishments to the top photos, and then called this layout done.

Are you enjoying these hybrid layouts using the Project Life app? Have you played around with it? Leave me a comment and let me know what you think. I would love to see your projects too, so link me up!
See you soon!
~Theresa
January 22, 2016 @ 2:09 am
Loved how this turned out! Where do you print the 12×12 spreads?
January 25, 2016 @ 1:42 pm
Hi there and thanks for commenting! I print here at home on a wide format printer.
~Theresa
January 22, 2016 @ 2:09 am
Loved how this turned out! Where do you print the 12×12 spreads?
January 25, 2016 @ 1:42 pm
Hi there and thanks for commenting! I print here at home on a wide format printer.
~Theresa
January 22, 2016 @ 2:09 am
Loved how this turned out! Where do you print the 12×12 spreads?
January 25, 2016 @ 1:42 pm
Hi there and thanks for commenting! I print here at home on a wide format printer.
~Theresa
January 22, 2016 @ 2:09 am
Loved how this turned out! Where do you print the 12×12 spreads?
January 25, 2016 @ 1:42 pm
Hi there and thanks for commenting! I print here at home on a wide format printer.
~Theresa
January 31, 2016 @ 8:04 pm
Okay, so this is WAY cool. I have done this before, adding some physical product/embellishments to the PL pages I’ve created in the app. But I’ve never played around with it THIS much. This is awesome. I will definitely have to play with my layouts more.
Emily
http://emilywolfe.net
January 31, 2016 @ 11:23 pm
Yes, you do a lot in Photoshop, which I don’t have patience for. LOL I am addicted to my dimensional elements…..so this is working for now. Thanks so much for commenting!!
~Theresa